| September 4, 2004 | HOME | ||||||||
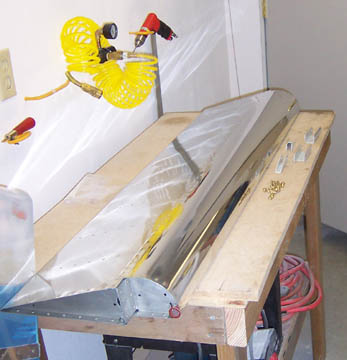
Since I started working on the wings, my shop has shrunk. It's about as narrow as you could possibly build an RV in to begin with, but needing to lay the wings down flat makes it really tight. I really do need one of those BIG heated and air conditioned hangars. Anybody got one to loan?
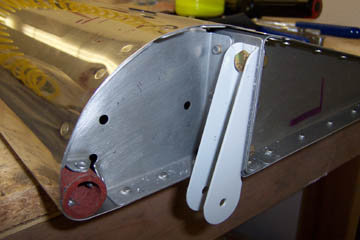
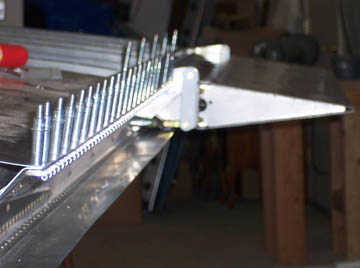
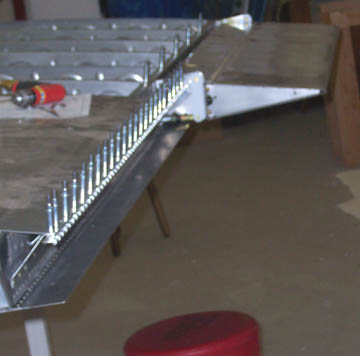
The ailerons are ready to take the attachment hardware which is laid out below in front on the table. Looks pretty simple, eh?
And, bingo! A few AN3 bolts and nuts torqued to 25 lb/in and we are ready for the next step.
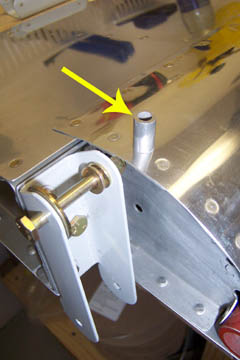
Oh yeah, I had to stop to make this little spacer to adjust the aileron laterally. It fits over the top bolt you see below. The bolt runs through the aileron bracket on the wing and the spacer simply provides proper spacing, assuming you make the spacer to the right dimension.
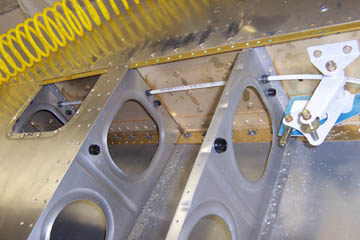
Meanwhile, Bill has been drilling holes for an extra run of wire down the wings. Here he is snaking his hand through the wing ribs where the wing is already skinned to sand the rough edges of the holes he just drilled.
Now you can see the 1/2 inch snap bushings in the line of new holes. This wing will need wiring for a VOR antenna, position lights, landing light, strobe light, autopilot servo (at least 5 wires), pitot heat, plus the pitot tube, itself. It needs a lot of opening. Add to that, the desire to keep the antenna wire away from the rest of the wires, even though it is shielded.
|
Here's a shot of the pitot tubing. Right now I am running plastic brake hose, but I probably will replace it with soft aluminum tubing because of the pitot heat. The brake tubing is actually fairly heat resistant and should be adequate, but I know I can count on the aluminum not to melt and I think that is the way I'm going.
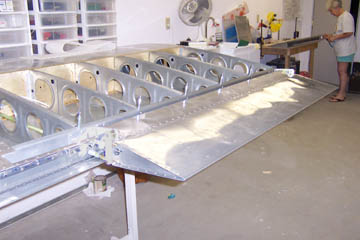
The left wing aileron is attached! The wing is growing and my shop is continuing to get narrower.
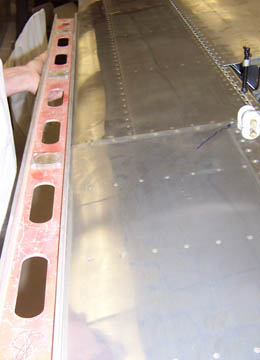
Setting up the flap and aligning it to the aileron is a little tricky. It took a while for me to realize that the flap and aileron can only be in alignment in one position. They are hinged at different points. The ailerons are top-hinged and the flaps are bottom-hinged. They need to be in alignment when in the neutral position, which is fully retracted for the flaps and right in the middle for the ailerons. Here they are jigged up and in perfect alignment. I think spec is "not more than 3/32nds", but I'm happier with right on!
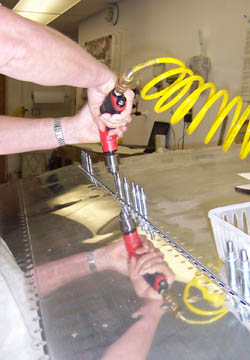
The flaps attach with piano hinge. Here it's getting match drilled to the skin and flap brace.
Sorry for the blurry picture, but I'm trying to show that the flap hinge is in place, drilled, dimpled and ready for some rivets.
I tried again for a good picture of this and it's blurry again. The camera must be tired, it couldn't be my fault. :)
Previous Day | HOME | Next Day |
||||||||