| September 12, 2004 | HOME | ||||||||
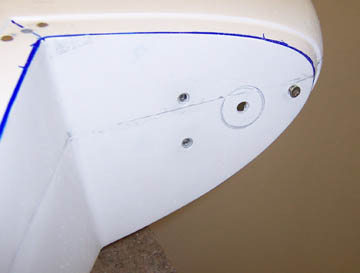
I drilled the mounting holes and installed the strobe brackets in the wingtips, then marked and pilot-drilled the hole for the strobe itself.
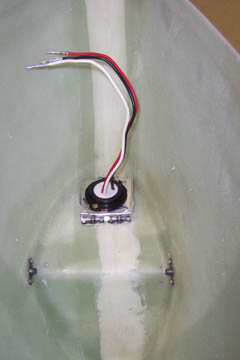
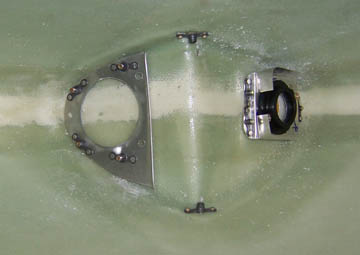
Here is the backside (inside) view of the strobe mounted in the bracket and the bracket mounted to the wingtip. The other two nutplates on the left and right are for mounting the wingtip lens.
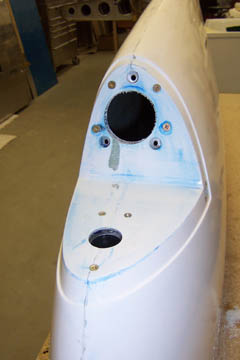
The strobe emerges through the fiberglass wingtip!
I built two more brackets. These will support the landing lights in the wingtips. The landing light assemblies could be mounted directly to the fiberglass, but the that would require that the adjustment screws protrude through and be visible. That is how most of the wingtip landing lights that I have seen are built, but I want something a little cleaner looking.
|
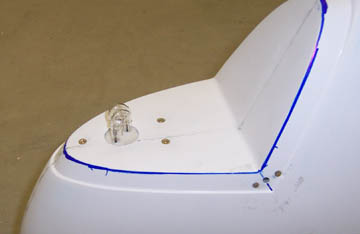
Here is the inside view with both the strobe (right) and the landing light brackets installed. The landing light hole is not yet drilled as you can see.
With the hole drilled and the landing light bracket installed, all that is left for the light is to install it with its adjustment hardware.
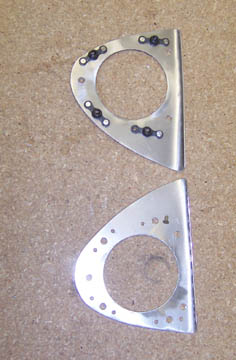
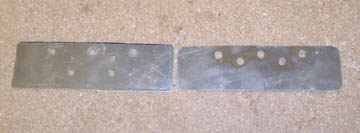
Bill made these 2 templates for the position light LEDs. I really don't know how he intends to mount the LEDs, but I'm not allowing any screw heads to show, so he will have to be ingenious! :)
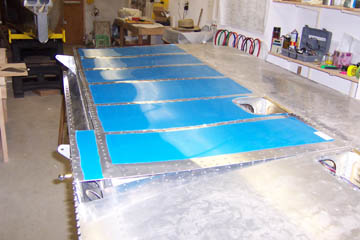
For a change of pace, I drilled, dimpled and fitted the last piece of wing skin (the bottom). I'm getting fairly close to closing the wing, but still waiting for the TruTrak autopilot servos to come from Van's. I know they can be installed after the wing is closed, but it's much easier to do it before.
Previous Day | HOME | Next Day |
||||||||