| August 01, 2007 | HOME | ||||||||
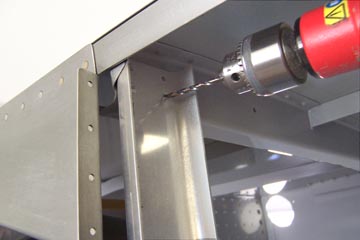
Thinking it was time to paint at least part of the interior, I drilled out and removed the cross brace that stiffens the fuselage. This gave me better access to the forward compartment area.
I cleaned, sanded (scuffed), cleaned again and vacuumed the forward portion of the fuselage. I shot one medium coat of self-etching primer. After lightly scuffing the primer coat, I sprayed a tack coat and 2 medium-wet coats of acrylic urethane in a color that closely matches Van's powder coat color. I wasn't looking for a great finish, just durability.
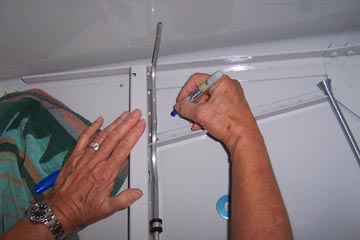
With the forward cockpit area painted, I began to lay out the first stages of plumbing. Here, I am marking the tank vent line hole in the bottom of the fuselage.
|
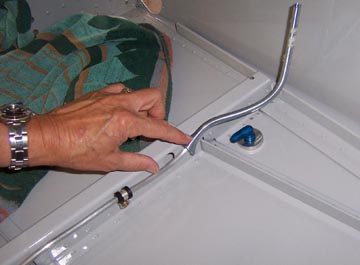
I found the bending and placement of the vent line more troublesome than expected. My first line was O.K., but looked a little crude. At first, I was thinking, "Function before form." But after a while, I just had to go back and replace it. Even if no one else ever saw it, I would always know it wasn't what I really wanted it to be. Another hour shot doing rework!
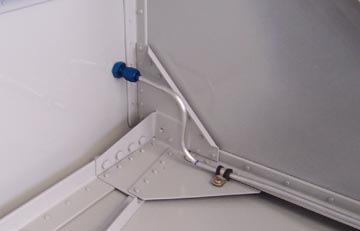
I was done! The tank vent lines are in place without those kinks, nicks and scrapes. I feel better for having redone them. I will still have to take the fittings back out and cut them, adding a small piece of fine screen to keep the bugs out. That's for another day.
Previous Day | HOME | Next Day |
||||||||