January 27, 2012 |
HOME | |||||||||
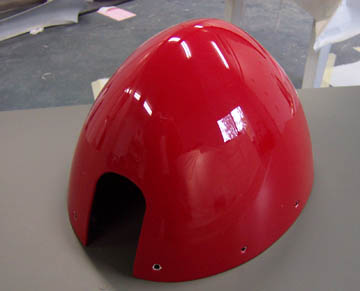
The first real part to get painted is the nose wheel fairing nose cap. We are starting with a few smaller pieces to test how things are going before jumping the the bigger pieces (like the fuselage). My first impression is pretty positive. It's the color I wanted and the paint is looking really good.
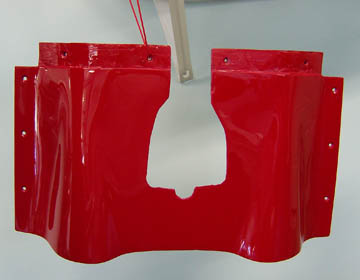
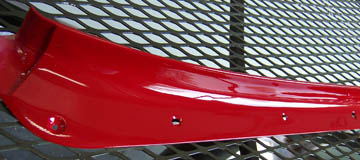
This is the removable cowl bottom rear section that goes around the nose gear. It's not a perfect piece to begin with, but looked pretty good painted.
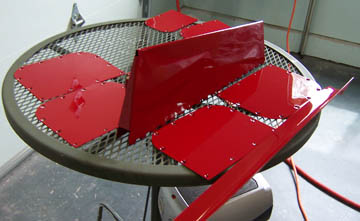
Some inspection covers and the trim tab are safe pieces to get a feel of how it's going. These parts are all cured and can be handled.
|
|
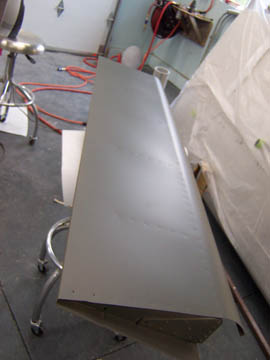
All of the metal parts got Alumi-Prep applied with a red Scotchbrite pad and a coat of self-etching primer. I know that sounds like overkill, but it does assure good primer adhesion.
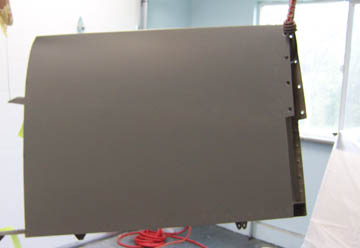
The piece above is the vertical stabilizer and the piece below is a flap. They all get the same treatment and are now ready to paint.
Here is a closeup of the bottom part of the empennage fairing so that you can better see the paint.
Previous Day | HOME | Next Day
|
||||||||
| ... | ||||||||||
| The page contains Kathleen Evans RV-7 of Redding CA. | ||||||||||